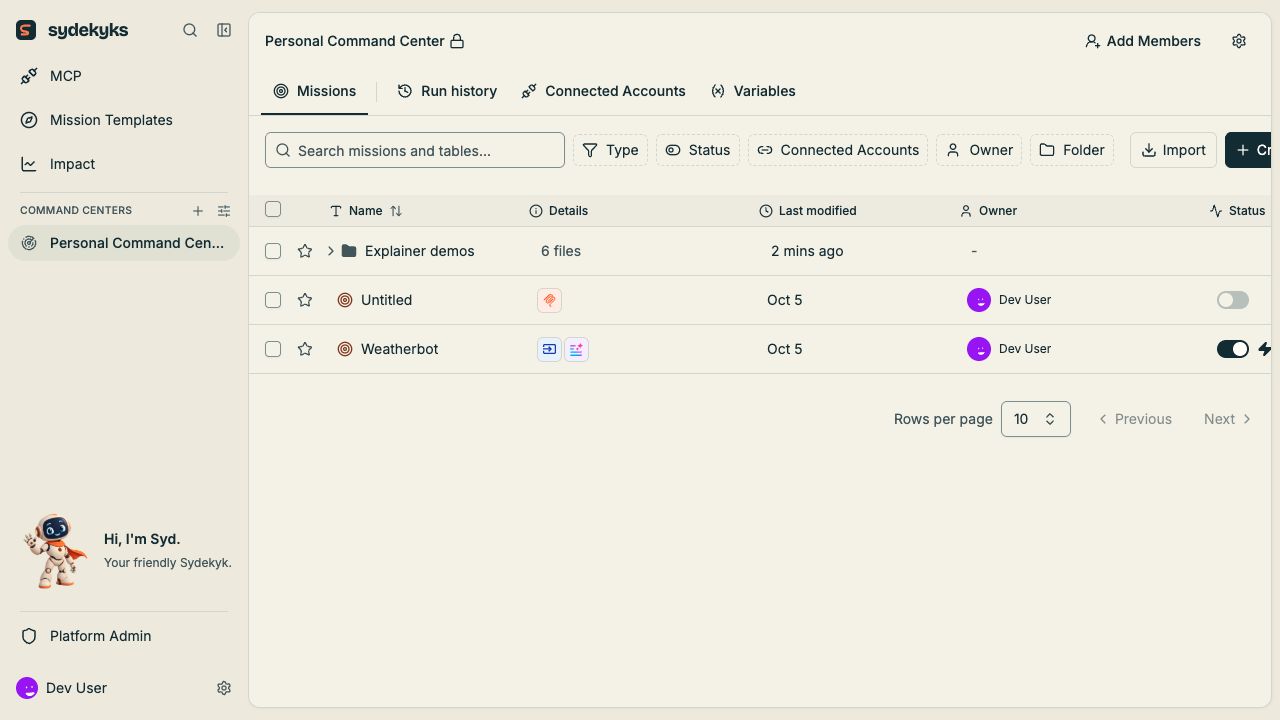

A Command Center groups the missions and data you work with. Start by choosing the Command Center you intend to use. Keep customer accounts and sample accounts separate when your deployment supports that separation.

Create another Command Center

Sydekyks 1.0.4 supports unlimited additional creator-owned Command Centers alongside Personal. Use + beside Command Centers in the sidebar, or Platform Admin → Command Centers → New Command Center, then enter a name. Select a center in the sidebar to switch its missions and connected accounts. Use Command Center settings → General to edit an additional center’s name and icon. Platform administration also provides name editing and archive. Personal cannot be renamed or archived. Before archiving an additional center, disable its missions and wait for queued, running or paused work to finish. Archive preserves data; restore UI is not available yet. Member sharing, quotas and provisioning remain deferred.

Main areas

The Sydekyks Missions workspace with its main navigation tabs

Choose what to build

Open Missions, choose Create New, and choose New Mission. Give it a name that explains the outcome, such as Log a supplier bill. Some builds offer tables in the same creation menu. Search and filters help you find existing work. The status switch controls whether a published mission is enabled. Editing a draft and enabling a mission are separate actions.

Settings and access

Use your profile settings for personal preferences. Platform administration and membership controls depend on deployment configuration. A visible locked control is not an enabled feature. See available features. Continue with connecting an app account or your first mission.